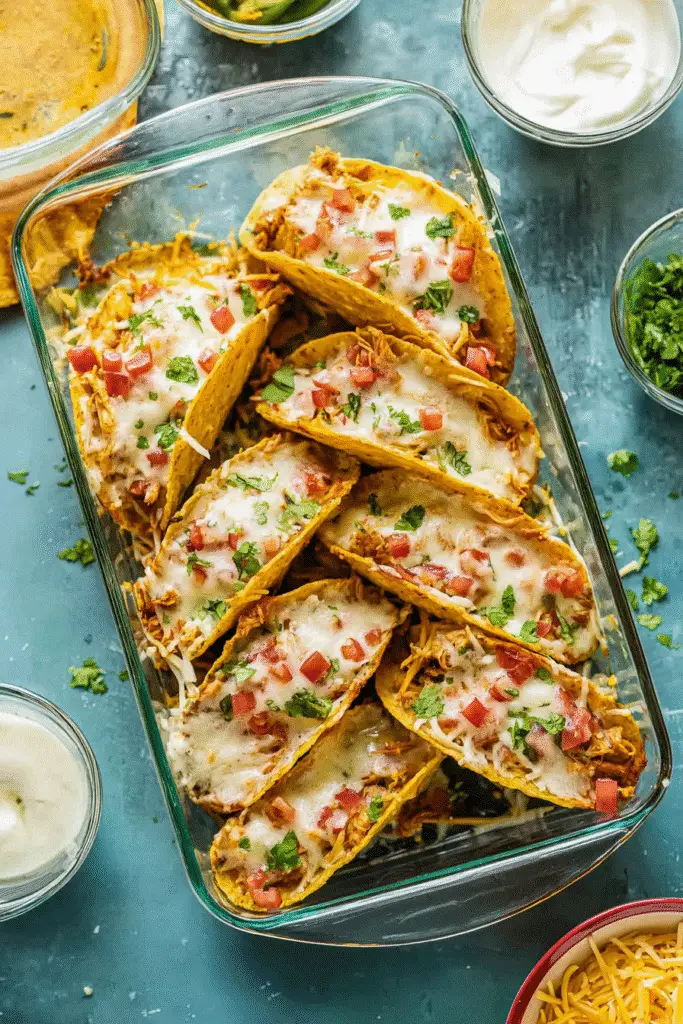
Baked Chicken Tacos
A Little Kitchen Memory That Sparked This Recipe
Baked Chicken Tacos were never on my radar—until one rainy Sunday at my aunt’s house. We had leftover rotisserie chicken, a bag of taco shells, and the kind of hunger that needed something quick and comforting. What happened next?
A tray of crispy, cheesy, flavor-packed tacos that disappeared faster than we could sit down. Now, it’s a weekly must. Whether it’s family night or game day, these are the tacos that never disappoint. Let me show you exactly how to make them.
For even more irresistible poultry meals, browse our complete collection of chicken recipes.
Why Baked Chicken Tacos Are a Game-Changer
The Rise of Baked Tacos in Modern Kitchens
If you’ve been sticking to stovetop tacos, you’re in for a game-changer. Oven-baked tacos are becoming a go-to in busy kitchens, and not just for their simplicity.
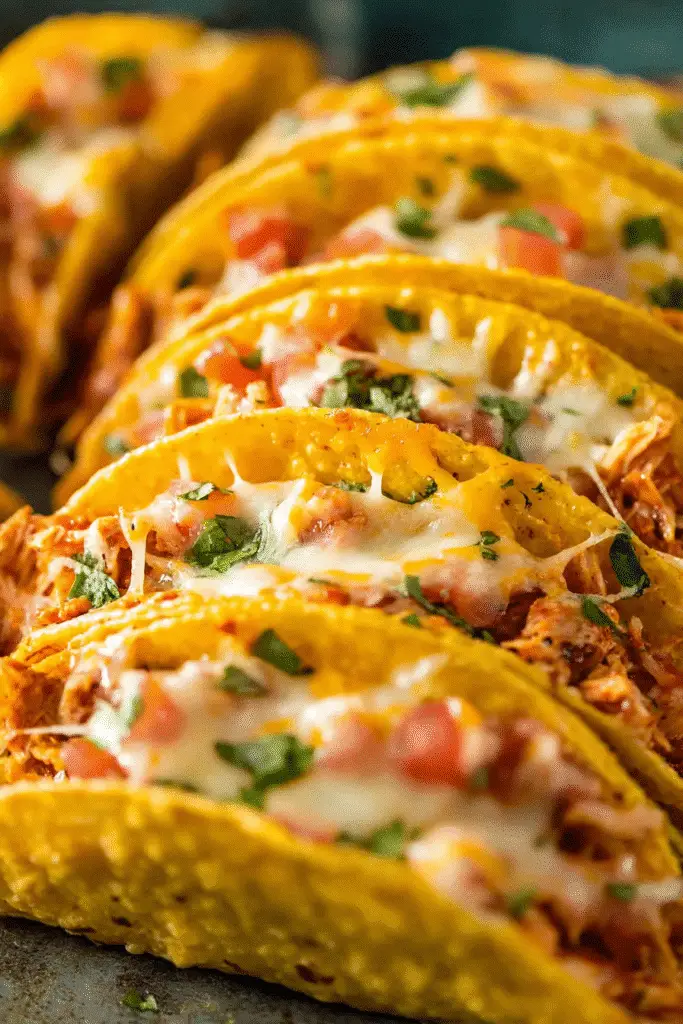
When you bake tacos, you get the best of all worlds—crispy edges, gooey cheese, and warm fillings—all without hovering over a frying pan. Plus, everything cooks together, meaning fewer dishes and more time enjoying.
These aren’t your average weeknight tacos. Baked chicken tacos bring structure, flavor layering, and the kind of texture that holds up bite after bite.
Especially when made with rotisserie chicken, they go from fridge to table in record time, keeping things delicious and stress-free.
Why Chicken Works So Well in Tacos
There’s a reason chicken is such a popular taco filling: it’s adaptable, tender, and takes on seasoning like a sponge.
Shredded cooked chicken—especially leftover or rotisserie—soaks up spices while staying moist.
When baked, it mingles perfectly with the creamy beans, tangy tomatoes, and melted cheese inside each taco shell.
Unlike beef or pork, chicken adds a lighter touch, making it ideal for family dinners or quick lunches. And because the flavors are bold without being greasy, baked chicken tacos strike that perfect balance between satisfying and feel-good.
for more recipes follow me in Pinterest
Print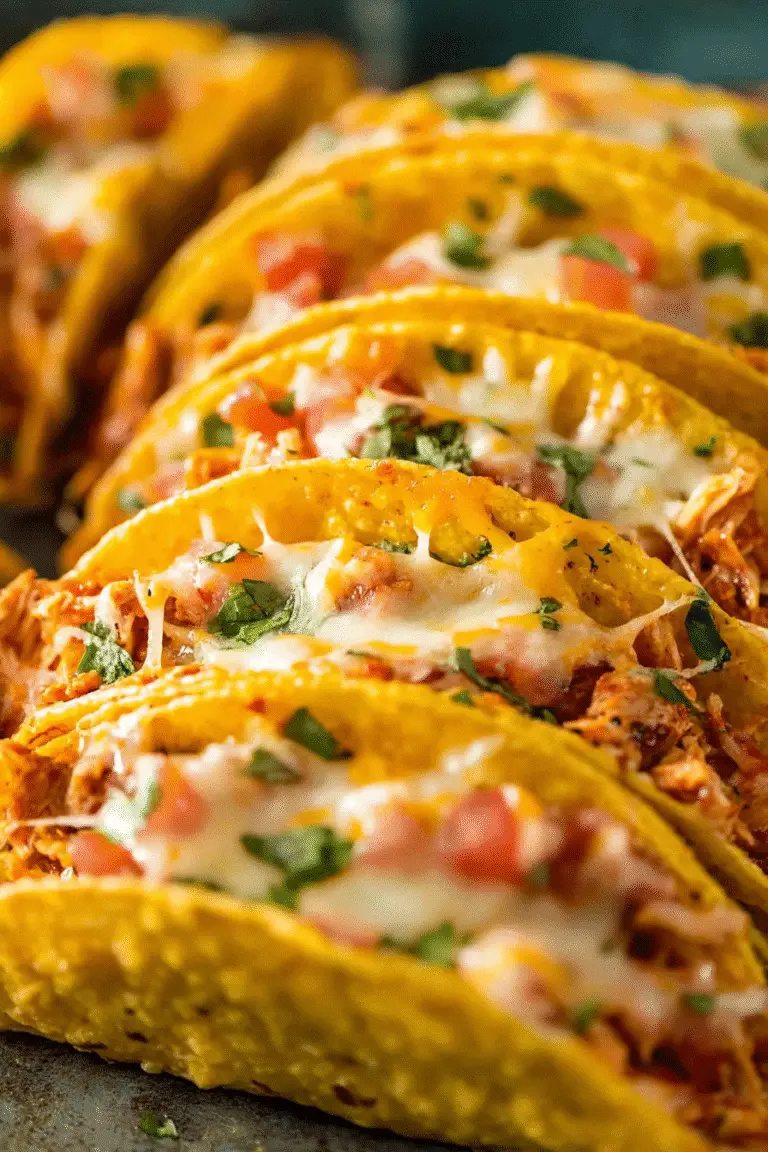
Baked Chicken Tacos
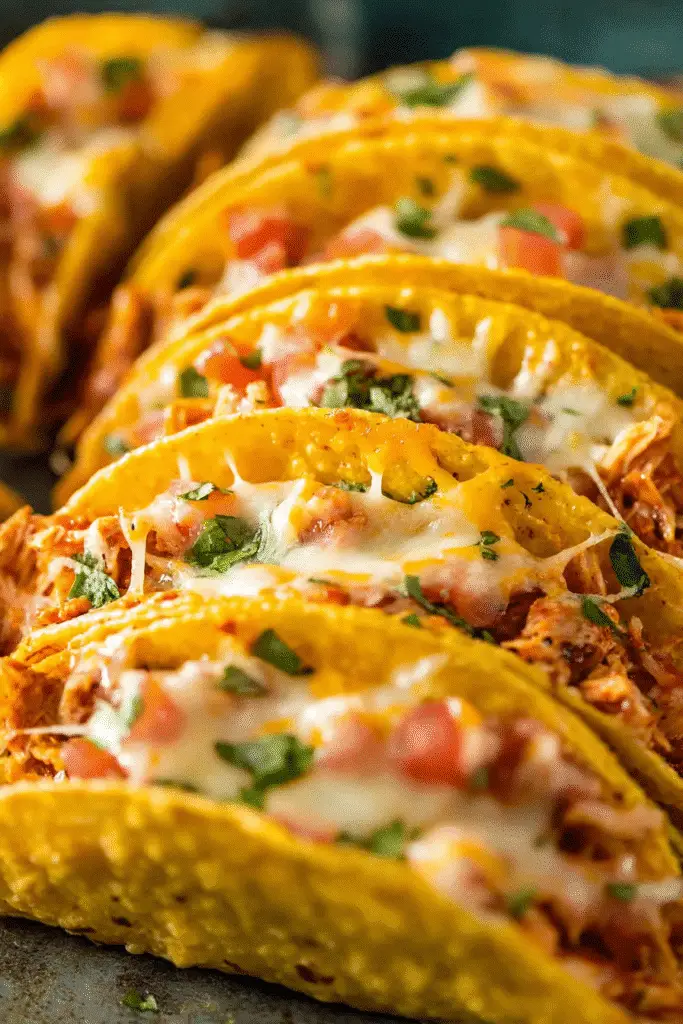
These Baked Chicken Tacos are crispy, cheesy, and incredibly easy to make. Using rotisserie chicken, taco seasoning, refried beans, and melty cheese, they’re the ultimate 30-minute dinner. Perfect for weeknights or party trays!
- Total Time: 30 minutes
- Yield: 10 tacos
Ingredients
-
Main Filling:
-
1 tablespoon olive oil
-
½ pound (about 2 cups) shredded cooked chicken (rotisserie recommended)
-
1 ounce taco seasoning (about 2 tablespoons)
-
½ cup diced onion
-
1 (14.5-ounce) can diced tomatoes, drained
-
1 (4.5-ounce) can diced green chiles, drained
Assembly:
-
10 hard taco shells (e.g., Old El Paso Stand ‘N Stuff)
-
8 ounces refried beans (½ can)
-
2 cups shredded Mexican blend cheese
Optional Toppings:
-
Sliced jalapeños
-
Sour cream
-
Salsa
-
Shredded lettuce
-
Chopped fresh cilantro
-
Instructions
1. Preheat the Oven
Preheat oven to 400°F (200°C). Lightly spray a 9×13-inch baking dish with nonstick spray.
2. Cook the Filling
In a medium skillet, heat olive oil over medium heat. Add diced onion and sauté for 2–3 minutes until soft and fragrant.
Stir in the shredded chicken, taco seasoning, drained tomatoes, and green chiles. Simmer for 5–8 minutes, stirring occasionally.
3. Pre-Bake the Shells
Place taco shells upright in the prepared baking dish. Bake empty shells for 5 minutes to crisp them.
4. Assemble the Tacos
Remove the baking dish from the oven. Spoon 1 tablespoon of refried beans into the bottom of each shell. Top with the chicken mixture, then sprinkle each with cheese.
5. Bake to Finish
Return dish to the oven and bake for 7–10 minutes, or until cheese is melted and edges are golden.
6. Garnish and Serve
Remove from oven. Top with your favorite toppings like sour cream, jalapeños, lettuce, salsa, and cilantro. Serve immediately.
Notes
-
Drain tomatoes and green chiles completely to avoid soggy shells.
-
Pre-baking taco shells ensures crispiness.
-
Use mild taco seasoning and skip jalapeños for a kid-friendly version.
-
You can prep the chicken filling up to 2 days in advance.
-
These tacos reheat well in an oven or air fryer (avoid microwaving for best texture).
- Prep Time: 10 minutes
- Cook Time: 20 minutes
- Category: Dinner, Main Course
- Method: Baked
- Cuisine: Mexican-Inspired
- Diet: Gluten Free
Essential Ingredients for the Best Baked Chicken Tacos
Main Ingredients That Build Flavor in Baked Chicken Tacos
To make truly unforgettable baked chicken tacos, the ingredients must strike the right balance of texture and taste. Here’s a breakdown of the essentials:
- Shredded cooked chicken (Rotisserie works best): It’s juicy, flavorful, and already cooked—perfect for saving time while making baked chicken tacos.
- Refried beans: They form the creamy, hearty base layer in every taco shell.
- Taco seasoning: Whether homemade or store-bought, seasoning your chicken gives each bite of these baked chicken tacos a bold and smoky kick.
- Diced tomatoes and green chiles: Make sure to drain them well so they don’t make your baked chicken tacos soggy.
- Diced onions: Adds a savory depth and slight sweetness once sautéed.
- Shredded Mexican cheese blend: The melted cheese is what holds it all together—and makes baked chicken tacos totally irresistible.
Every one of these ingredients plays an essential role in creating baked chicken tacos that are bursting with flavor and texture.
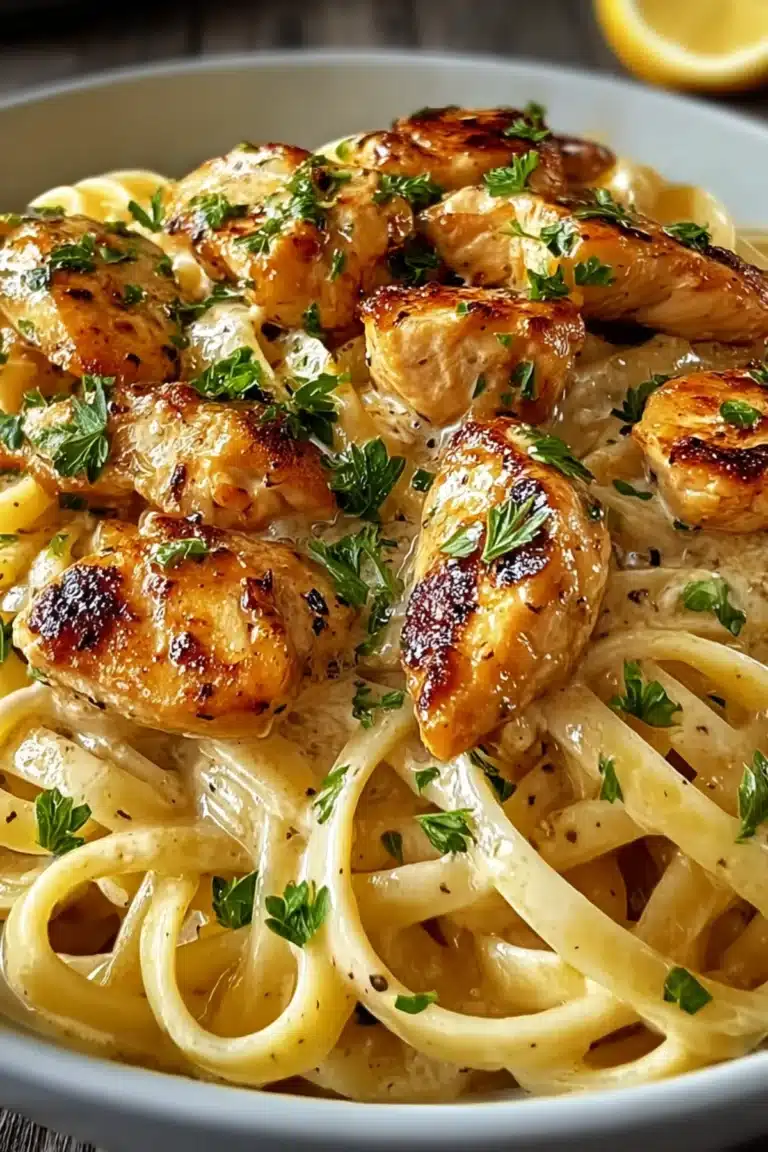
Add some Southern-inspired flavor to your table with our creamy and cheesy cowboy butter chicken linguine.
Optional Toppings to Personalize Every Bite of Baked Chicken Tacos
One of the best things about baked chicken tacos is how easy they are to customize. After baking, load them up with fresh, crunchy, creamy, or spicy toppings to suit your taste. Try these ideas:
- Sliced jalapeños for a kick
- Sour cream to cool it down
- Shredded lettuce for a crisp finish
- Chopped cilantro for a pop of herby flavor
- Salsa for that juicy tang
Optional toppings aren’t just extras—they elevate your baked chicken tacos from good to unforgettable. Everyone at the table can build their perfect taco.
These ingredients and toppings set the foundation for perfect baked chicken tacos every time—easy to prep, hard to resist.
Step-by-Step Guide to Making Baked Chicken Tacos
Prepping the Filling for Maximum Flavor in Baked Chicken Tacos
Before anything hits the oven, it all starts on the stovetop. The filling is the heart of baked chicken tacos, and this method ensures deep, rich flavor without extra fuss.
Start by heating 1 tablespoon of olive oil in a medium skillet over medium heat. Add ½ cup diced onion and sauté for 2–3 minutes, or until the onions become translucent and fragrant. This is the flavor base that brings warmth to your baked chicken tacos.
Next, stir in:
- ½ pound of shredded cooked chicken (we use rotisserie for ease)
- 1 ounce of taco seasoning
- 1 can (14.5 oz) of diced tomatoes, fully drained
- 1 can (4.5 oz) of diced green chiles, fully drained
Mix it all together thoroughly and let it simmer for 5–8 minutes. The chicken will soak up the seasoning and juices, giving you a rich, savory mixture perfect for filling your baked chicken tacos.
This step guarantees that every bite is packed with flavor, setting the tone for a crave-worthy taco night.
Assembling and Baking for Perfect Crunchy Baked Chicken Tacos
This is where the magic happens—assembling and baking your baked chicken tacos to golden perfection.
- Preheat your oven to 400°F. Spray a 9×13-inch baking dish with nonstick spray.
- Arrange 10 hard taco shells upright in the dish. We recommend Old El Paso Stand ‘N Stuff shells for easy handling.
- Bake the taco shells empty for 5 minutes. This crucial step helps them crisp up and stay firm after filling—essential for great baked chicken tacos.
- Once they’re out, spoon 1 tablespoon of refried beans into the bottom of each shell.
- Top each with the warm chicken filling, almost to the top.
- Finish with a generous sprinkle of shredded Mexican cheese blend—about 2 cups across all tacos.
Slide the dish back into the oven and bake for 7–10 minutes, or until the cheese is fully melted and the edges of the shells are nicely browned.
When they’re ready, your baked chicken tacos will be hot, crispy, melty, and ready to top with all your favorite extras.
From skillet to oven, every step brings you closer to taco perfection. These baked chicken tacos aren’t just easy—they’re addictive.
Looking for an easy sheet pan dinner? Try our zesty and savory Greek sheet pan chicken.
Smart Tips to Elevate Your Baked Chicken Tacos
Keep Your Baked Chicken Tacos Crunchy Every Time
One of the biggest complaints with taco recipes? Soggy shells. But with baked chicken tacos, there’s a simple fix—and it starts before you even fill them.
Tip #1: Pre-bake the taco shells.
Before adding any filling, bake your taco shells empty for 5 minutes at 400°F. This step creates a barrier, so the shells stay crisp even after adding beans and juicy chicken. It’s a small step that makes a big difference.
Tip #2: Drain wet ingredients thoroughly.
Canned tomatoes and green chiles bring amazing flavor to your baked chicken tacos, but they also bring moisture. Always drain them fully. Excess liquid can seep into the shells and ruin the crunch.
Tip #3: Bake, don’t overload.
While it’s tempting to pack as much filling as possible into each taco, overfilling makes them fall apart. Keep a balance—your baked chicken tacos will thank you.
Make Baked Chicken Tacos Spicy, Mild, or Kid-Friendly
Another bonus of this recipe? It’s endlessly adaptable. Whether you’re feeding spice lovers or picky eaters, you can tailor baked chicken tacos to suit any palate.
- Go Spicy: Add extra jalapeños or use hot taco seasoning.
- Make It Mild: Skip jalapeños and stick with mild taco seasoning. You can even leave out the green chiles for a softer flavor.
- Kid-Friendly: Top with sour cream and shredded cheese only. Most kids love the creamy, cheesy combo.
You’re never locked into one flavor profile. These baked chicken tacos are just the starting point—you get to customize every bite.
Whether you’re planning a casual dinner or a crowd-pleasing party tray, these tips ensure your baked chicken tacos come out just right every single time.
Storage, Reheating & Meal Prep Hacks
How to Store Leftovers Like a Pro
No one wants soggy or stale leftovers. The key to preserving the freshness of your tacos is proper storage. After baking, let the tacos cool completely. Then, place them in an airtight container and refrigerate. They’ll stay fresh for up to 3 days.
For best results, store fillings and shells separately if you plan on making extras for the week. This way, your taco shells retain their crispiness and don’t absorb moisture from the filling.
Reheat Without Losing That Crunch
Reheating tacos can be tricky—especially when you want to keep that crispy edge. Avoid the microwave when possible, as it tends to soften the shells.
Instead, preheat your oven to 350°F. Arrange the tacos on a baking sheet and heat for 8–10 minutes. This will bring back their crunch without drying them out.
Air fryers also work wonders. A quick 5-minute blast at 370°F makes them taste freshly baked all over again.
Prep Ahead to Save Time During Busy Weeks
Want to make taco night even easier? Prepare the filling in advance. You can cook the chicken mixture a day or two ahead and keep it refrigerated. When ready, just fill the shells, top with cheese, and bake.
You can even pre-fill the tacos and refrigerate them uncooked for up to 24 hours. When dinnertime hits, pop them straight into the oven.
This make-ahead strategy is a lifesaver during hectic schedules. You still get that hot, cheesy meal without the mid-week kitchen scramble.
Serving Ideas & Taco Bar Inspiration
Serve with Flavorful Sides for a Full Mexican-Inspired Meal
Tacos may be the star, but side dishes complete the experience. Think of your dinner plate as a flavor palette—adding color, texture, and balance.
Here are some tasty sides that pair beautifully:
- Mexican rice or cilantro-lime rice
- Street corn (Elote) or corn salad
- Fresh guacamole or avocado slices
- Pico de gallo and tortilla chips
- Charro beans or black bean salad
These additions elevate your taco dinner from simple to satisfying, making it perfect for weeknight meals or casual hosting.
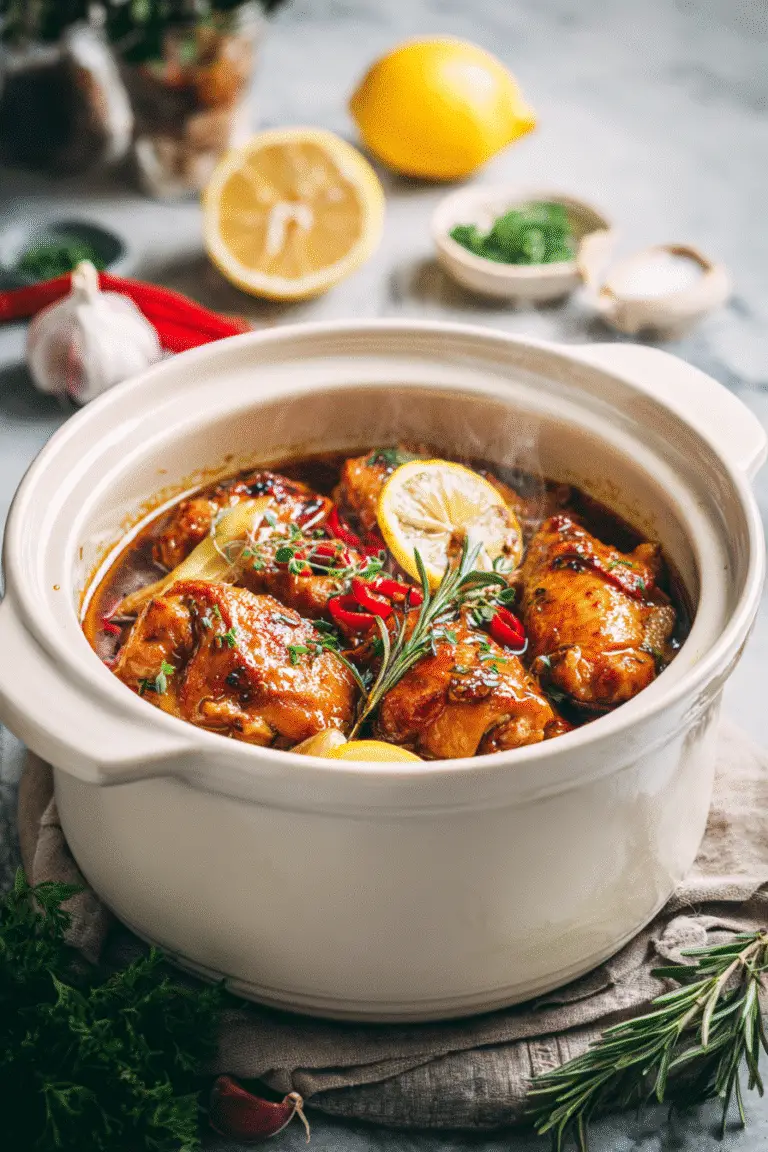
Bring sweet and tangy flavor to your next dinner with this maple mustard chicken thighs recipe.
Build-Your-Own Taco Bar for Parties or Family Nights
Want to make dinner interactive and fun? Set up a DIY taco bar. It’s perfect for gatherings and lets everyone customize their own plate.
Start with:
- A tray of oven-fresh tacos (with or without toppings)
- Bowls of toppings: lettuce, jalapeños, salsa, cheese, sour cream, olives
- Hot sauces in varying spice levels
- Lemon and lime wedges for that final zesty touch
Not only does this approach encourage creativity, but it also saves you from playing short-order cook in your own kitchen. Guests (and kids) love having control over their meal.
Whether you’re feeding a crowd or just your crew, turning dinner into a mini taco bar keeps things exciting and stress-free.
Health Facts About This Easy Baked Favorite
Lighter Than Fried — Here’s Why It Matters
One of the hidden perks of baking instead of frying is how much lighter the final dish turns out. When tacos are baked, they require far less oil, reducing unnecessary fats while still delivering that crispy, crave-worthy texture.
Baking also makes it easier to control sodium and calories, especially when using ingredients like low-sodium beans or homemade seasoning blends. You’re not sacrificing flavor—you’re just cooking smarter.
According to the U.S. Department of Agriculture (USDA), roasted and baked poultry dishes tend to retain more nutrients and lower unhealthy fats than their fried counterparts. That means more nutritional value per bite.
A Protein-Packed, Family-Friendly Meal
Chicken is a powerful source of lean protein, which supports muscle growth, repairs tissue, and helps keep you full longer. Just one serving of cooked chicken offers around 26 grams of protein, according to Wikipedia.
The added beans bring fiber to the table, aiding digestion and boosting satiety. Meanwhile, tomatoes and chiles add a pop of vitamin C, antioxidants, and flavor—without added sugar or artificial fillers.
Want to sneak in even more nutrition? Add shredded lettuce, avocado, or Greek yogurt in place of sour cream. These swaps increase the health factor without compromising taste.
So yes, this meal isn’t just quick and comforting—it’s smart eating, too.
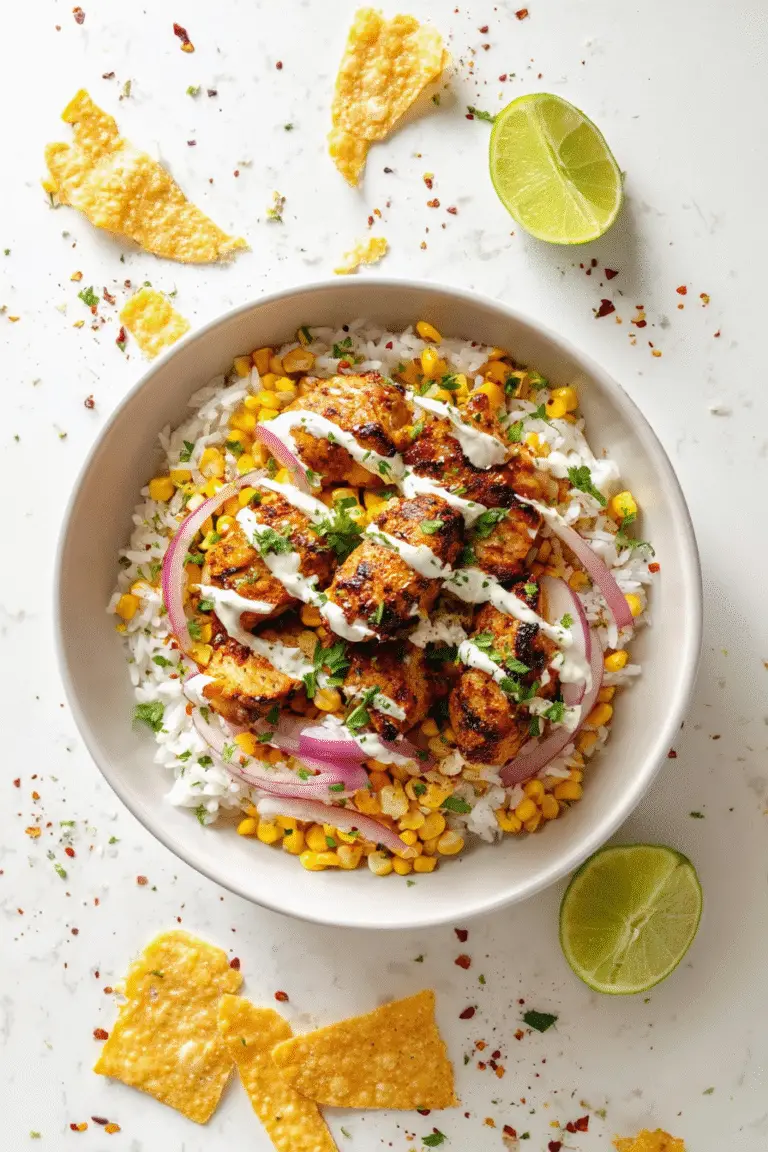
For something with a bit more heat and heartiness, this Santa Fe chicken is always a hit.
FAQs About Making This Taco Recipe a Success
How do you keep baked tacos from getting soggy?
Start by pre-baking the taco shells on their own for 5 minutes. This forms a barrier that keeps fillings from soaking through. Also, fully drain canned ingredients like diced tomatoes and green chiles. Moisture is the enemy of crunch, so the drier your filling, the better your results.
Can I use flour tortillas instead of hard taco shells?
Absolutely. If you prefer soft tacos or only have flour tortillas on hand, go for it. To keep them from becoming soggy or floppy in the oven, lightly brush with olive oil and bake them flat or fold them into taco holders. They won’t crisp like traditional shells, but the results are still delicious.
How long do I bake chicken tacos in the oven?
After assembling your tacos, place the tray in a preheated 400°F oven and bake for 7 to 10 minutes. You’ll know they’re ready when the cheese is fully melted and the shell edges are golden brown.
Can I prep these tacos ahead of time?
Yes, and it’s one of the reasons this dish is such a favorite. You can prep the chicken mixture 1–2 days ahead and store it in the fridge. If you want to go further, assemble the tacos up to 24 hours in advance, then bake just before serving. It’s a huge time-saver for weeknights or party prep.
Conclusion: A New Go-To for Taco Night
Whether it’s a weeknight dinner or a laid-back gathering with friends, this recipe delivers every time. From the satisfying crunch of oven-crisped shells to the juicy, seasoned chicken tucked inside, each bite brings comfort and joy.
It’s more than just a quick dinner—it’s a memory waiting to happen. You’ll love how easy it is to make, how customizable it is for your crew, and how little cleanup it requires.
The next time you’re thinking of ordering out or falling into a dinner rut, remember this recipe. With a few simple ingredients and 20 minutes in the oven, you’ve got something that feels special—even if it’s just a regular Tuesday.
Now it’s your turn—bake, top, serve, and watch them disappear.
Love baked dishes? Then you need to check out our ultra-tender million dollar baked chicken breast.

